As someone who sews, I always have extra buttons in my stash. My mom and I also inherited buttons from both of my grandmothers, so we have some really neat vintage examples. Years ago, Mom saw an article in a magazine on how to make button flowers. One Saturday, we decided to try it out. We gathered up buttons, floral wire and wire cutters, and floral tape.
Floral wire comes in several gauges. The heavier gauge is more ideal for this project, but the thinner is what I had on hand. It can be used by cutting two pieces the same length and twisting them together. The length of wire should be twice as long as the desired finished length.
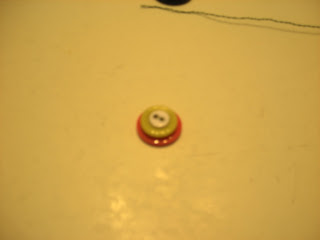
Now, the fun part! Flowers can be made from just one button or layered with more. Flat buttons work better for layering than shank-style buttons. Shank-style buttons work best by themselves.
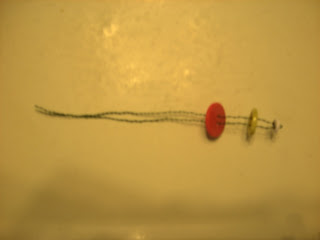
Thread the buttons on the wire in the desired order, then bend the wire and thread it back through another hole in all of the buttons.
Cinch the buttons up tight, then twist the wire together, getting it as tight against the backside of the bottom button as possible.
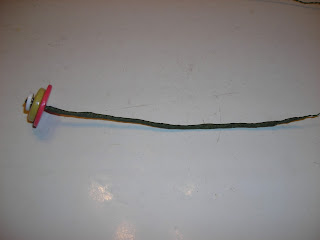
Now, wrap floral tape over the wire stem and it is complete.
My mom and I used a vintage-style tin and created a base arrangement of greenery and small-scale floral elements. Then, we added the button flowers throughout the arrangement.
Here are the two arrangements we made that day.


